
When it comes to creating your personal Kanban board in Jira, think of it as sculpting your task management toolkit, shaping it to fit your needs like a skilled artisan carving a masterpiece.
By starting with a few fundamental steps, you can lay the foundation for a system that streamlines your workflow and boosts your efficiency.
Stay tuned to uncover the key strategies that will help you craft a personalized Kanban board in Jira that works seamlessly with your unique style and preferences. To get started, it’s essential to understand the basic components of a Kanban board, such as columns, swimlanes, and card types. From there, you can customize your board to fit your specific workflow and project needs, integrating features like automated kanban cards, custom fields, and filters. Additionally, Jira offers a straightforward guide on how to create additional kanban boards, allowing you to manage multiple projects or departmental workflows within the same platform. By mastering these strategies, you can design a Kanban board that aligns perfectly with your working style and boosts your productivity.
Key Takeaways
- Customize columns and cards to match your workflow efficiently.
- Visualize task progress by moving cards across stages.
- Regularly review and adjust WIP limits for optimal productivity.
- Prevent task overload and maintain focus with WIP limits.
Understanding Kanban Boards in Jira
If you're new to Jira, understanding how Kanban boards function within this software can significantly enhance your workflow efficiency.
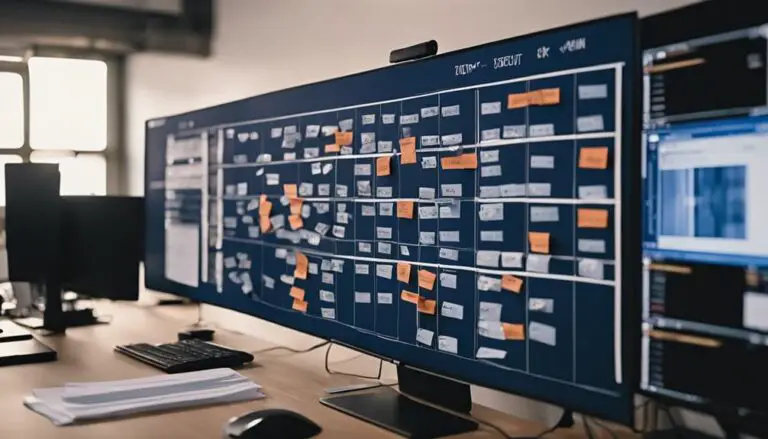
Kanban boards in Jira are powerful tools that visually represent your work items as cards in different columns. Each column signifies a specific stage in your workflow process, allowing you to track the progress of your tasks effortlessly.
The flexibility of Jira's Kanban boards enables you to customize columns, swimlanes, and set Work-In-Progress (WIP) limits tailored to your team's needs. WIP limits are crucial as they help maintain focus, prevent task overload, and ensure a steady workflow pace.
Setting Up Your Jira Account
To get started with your Jira account and set up your personal Kanban board, follow these steps for seamless workflow management.
- Create a Jira Account: Begin by creating a Jira account, which is essential for accessing and utilizing Kanban board features.
- Choose Your Plan: Decide whether to opt for the free version of Jira or select a paid plan that offers additional Kanban board features tailored to your needs.
- Access Kanban Boards: Once your Jira account is set up, you can easily find the option to create a Kanban board in the project sidebar, enabling you to start organizing your tasks efficiently.
Creating Your First Kanban Board
Let's start by setting up the basic structure of your Kanban board. Customize the columns to match your project's workflow and prioritize tasks effectively.
Manage your board cards by adding, updating, and organizing them to stay on top of your work commitments.
Board Setup Basics
Begin by accessing the default Kanban board layout in Jira by clicking on 'Board.' To kickstart the process, create your first task item on the Kanban board.
Here are some essential steps to guide you through setting up your board:
- Consider customizing columns based on the project type.
- Opt for a company-managed project for more board customization options.
- Tailor columns to match your workflow by adjusting settings under Board Settings.
Customizing Board Columns
Consider customizing your board columns in Jira to align with your specific project workflow and optimize task tracking efficiency. By customizing columns on your Jira Kanban board, you can map different task statuses to each column, reflecting your workflow accurately.
Utilize the Board Settings feature to easily customize, rename, or rearrange columns to match your project requirements. This flexibility allows you to visualize task progress by moving cards across columns, indicating their current status and helping you prioritize work effectively.
Tailoring column names to stages like 'To Do,' 'In Progress,' and 'Done' enhances clarity in task management. Experiment with column customization to create a board that perfectly fits your workflow and enhances task tracking capabilities.
Managing Board Cards
To effectively manage your first Kanban board in Jira, begin by accessing the default Kanban board layout by clicking 'Board' in the platform.
When creating your first task item for task management, consider the following:
- Customize columns based on your project setup
- Opt for a company-managed project for full board customization control
- Align your workflow by renaming and customizing columns under Board Settings.
Adding and Removing Columns
When setting up your Kanban board in Jira, easily adjust the workflow stages by adding or removing columns as needed. Columns in a Kanban board represent different stages of work or task statuses.
To add a column, navigate to Board Settings, click on Columns, and then select Add Status. If you need to remove a column, simply click on the three dots next to the column name and choose Delete. Renaming columns is a breeze; just click on the column name and edit it directly.
Make sure to customize column constraints and mapping to accurately reflect your workflow. By customizing your Kanban board's columns, you can tailor it to suit your specific needs, making your work more organized and efficient.
Take advantage of these features to streamline your workflow and keep track of your tasks effectively.
Setting Work-In-Progress Limits
When setting Work-In-Progress (WIP) limits, you can better control the number of tasks being worked on simultaneously. This practice helps your team focus on completing tasks efficiently and can highlight where workflow improvements are needed.
Limiting Task Quantities
Consider implementing Work-In-Progress limits on your personal Kanban board in Jira to maintain focus and prevent task overload effectively. By setting these limits, you can optimize your workflow and enhance efficiency. Here are three key benefits of limiting task quantities:
- Promoting Task Completion: With a maximum number of tasks in progress, you're encouraged to finish existing tasks before taking on new ones.
- Reducing Multitasking: Limiting work-in-progress helps you avoid spreading yourself too thin and focus on completing one task at a time.
- Improving Productivity: By enforcing these limits, you can optimize your workflow, prioritize effectively, and boost overall productivity.
Embrace Work-In-Progress limits in Jira to streamline your work and achieve better results.
Monitoring Progress Effectively
To effectively monitor your progress while setting Work-In-Progress limits in Jira, ensure that you regularly review and adjust these limits based on your workflow dynamics. By defining and adhering to WIP limits on your Kanban board, you can optimize team productivity and maintain a balanced workload.
Monitoring task completion against these limits promotes smoother workflow and helps identify bottlenecks in your process. With WIP limits in place, you prevent overwhelming team members with too many tasks simultaneously, allowing for improved focus and efficiency.
Regularly evaluating and adapting these limits based on your team's capacity and workflow changes fosters a more agile and responsive work environment. Stay mindful of your WIP limits to enhance team collaboration and overall project success.
Implementing Swimlanes and Quick Filters
Implement Swimlanes and Quick Filters in Jira to enhance task categorization and filtering capabilities on your personal Kanban board. This feature allows you to organize tasks horizontally using Swimlanes based on various criteria like project, priority, or team member.
Quick Filters, on the other hand, enable you to quickly narrow down the displayed tasks by applying specific filters, helping you focus on what matters most at any given time.
- Visual Categorization: Utilize Swimlanes to visually separate tasks, providing a quick overview of different task categories.
- Efficient Task Focus: Quick Filters help you focus on specific tasks or issues by applying predefined filtering options swiftly.
- Improved Task Management: By using Swimlanes and Quick Filters, you can enhance the organization, prioritization, and visibility of tasks on your Kanban board, making task management more efficient and effective.
Implementing these features in Jira will streamline your workflow, making it easier to manage your tasks and stay productive.
Configuring Board Colors and Other Options
Enhance the visual appeal and functionality of your personal Kanban board in Jira by configuring board colors and other options to improve task tracking and categorization.
In Jira, access the Board Settings to customize colors for different statuses or issue types on your Kanban board. By utilizing board color settings, you can visually differentiate and efficiently track various tasks.
Implement color coding to quickly identify priority tasks or specific categories, enhancing your ability to manage your workload effectively. Personalization is key; by choosing distinct colors, you can improve visual organization and clarity within your Kanban board.
These customization options not only make your board visually appealing but also assist in streamlining your workflow and making task management more intuitive. Experiment with different color schemes to find what works best for you and aids in your productivity on Jira.
Comparing Kanban and Scrum Boards in Jira
How do Kanban and Scrum boards in Jira differ in their approach to task management and workflow organization?
Kanban boards focus on continuous flow and flexibility in task prioritization, while Scrum boards emphasize sprint planning and fixed durations. Here are some key distinctions to help you understand the differences:
- Kanban boards promote a continuous flow of work, allowing for tasks to be completed as capacity allows.
- Scrum boards operate on sprint planning, with work being assigned at the start of each sprint to achieve specific goals.
- Kanban boards have no predefined roles, unlike Scrum boards that include roles like Scrum Masters and Product Owners.
Understanding these differences can help you choose the right approach for your team's unique needs in Jira. Whether you prefer a pull-based system with Kanban or a push-based approach with Scrum, selecting the right board type can enhance your task management and workflow organization.
Frequently Asked Questions
Can I Create My Own Kanban Board in Jira?
You can absolutely create your own Kanban board in Jira. Customize it to match your workflow. Use online tutorials for guidance. Enhance remote collaboration, project tracking, and time management. Visualize tasks efficiently with agile methods.
How Do I Create a Kanban Board for Myself?
When creating a Kanban board for yourself, focus on digital organization, task tracking, time management, personal productivity, and agile methodology. Visualize your workflow effectively using project management features, like swimlanes and filters, to enhance your productivity.
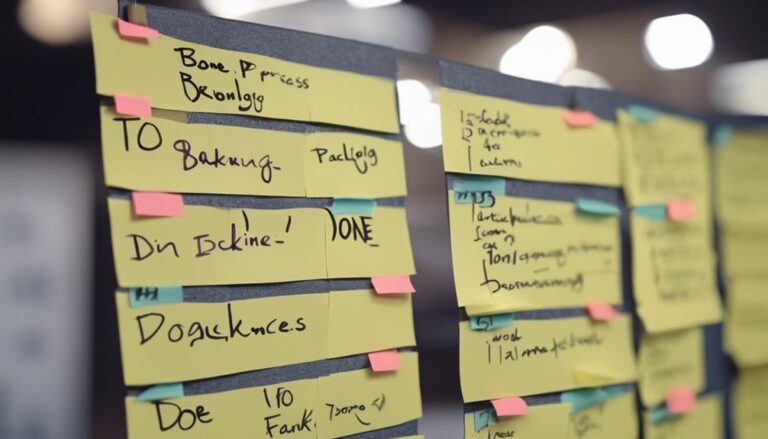
How Do You Make a Physical Kanban Board?
To make a physical Kanban board, start by visualizing your workflow stages on a board. Utilize sticky notes for task management, move them across columns, and update daily. Enhance personal productivity with agile methodology, project tracking, and daily prioritization.
How Do I Create a Personal Project in Jira?
Hey there, looking to ace your task organization with Jira? Dive into creating a personal project effortlessly. Set up for success by initiating project creation, tailoring details, and fine-tuning settings for seamless project tracking and agile progress monitoring.
Conclusion
Now that you've set up your personal Kanban board in Jira, you're ready to boost your productivity and stay organized with your tasks.
By customizing columns, setting WIP limits, and utilizing swimlanes and filters, you can tailor your board to fit your workflow perfectly.
Keep iterating and adapting your board to make the most out of Jira's powerful tools and features.
Happy task managing!